Overview
Overview
Section titled “Overview”This guide walks you through setting up your Qivuli account and getting your first property ready for rental management.
Step 1 — Create your account
Sign up for Qivuli
Section titled “Sign up for Qivuli”Getting started takes less than 2 minutes.
- Go to app.qivuli.com
- Click “Sign up”
- Enter your email address and create a password
- Verify your email address (check your inbox for the confirmation link)
- Complete your profile with your name and company/agency name (if applicable)
Already have an account? Log in here →
Step 2 — Personal settings
Complete your profile
Section titled “Complete your profile”After signing up, you’ll be taken to Personal Settings where you configure:
| Field | Description |
|---|---|
| First name | Your legal name (used on leases and documents) |
| Last name | Your legal name (used on leases and documents) |
| Phone number | For SMS notifications and tenant communication |
| For subscription and communication |
Tip: Your phone number is how tenants will reach you through the tenant portal.
Step 3 — Property settings
Add your first property
Section titled “Add your first property”Once your profile is complete, you’ll move to Property Settings. This is where your rental portfolio comes to life.
Basic property information
Section titled “Basic property information”| Field | Description |
|---|---|
| Property name | e.g., “Sunset Apartments”, “Main Street Commercial” |
| Property type | Residential, Commercial, or Mixed-use |
| Location | Full street address (used on leases) |
| Property Url | This will automatically be generated |
Optional settings you can configure later
Section titled “Optional settings you can configure later”- M-Pesa account details (for rent collection)
- Late fee policies (percentage or fixed amount)
- Rent due day (defaults to 1st of each month)
- Maintenance request workflow
Pro tip: You can add multiple properties later from the dashboard. Start with one to learn the workflow.
Dashboard Navigation
Section titled “Dashboard Navigation”After completing your property setup, you’ll land on the Qivuli dashboard. The box-like icon on the left side of the dashboard, when clicked, will open up a sidebar navigation menu.
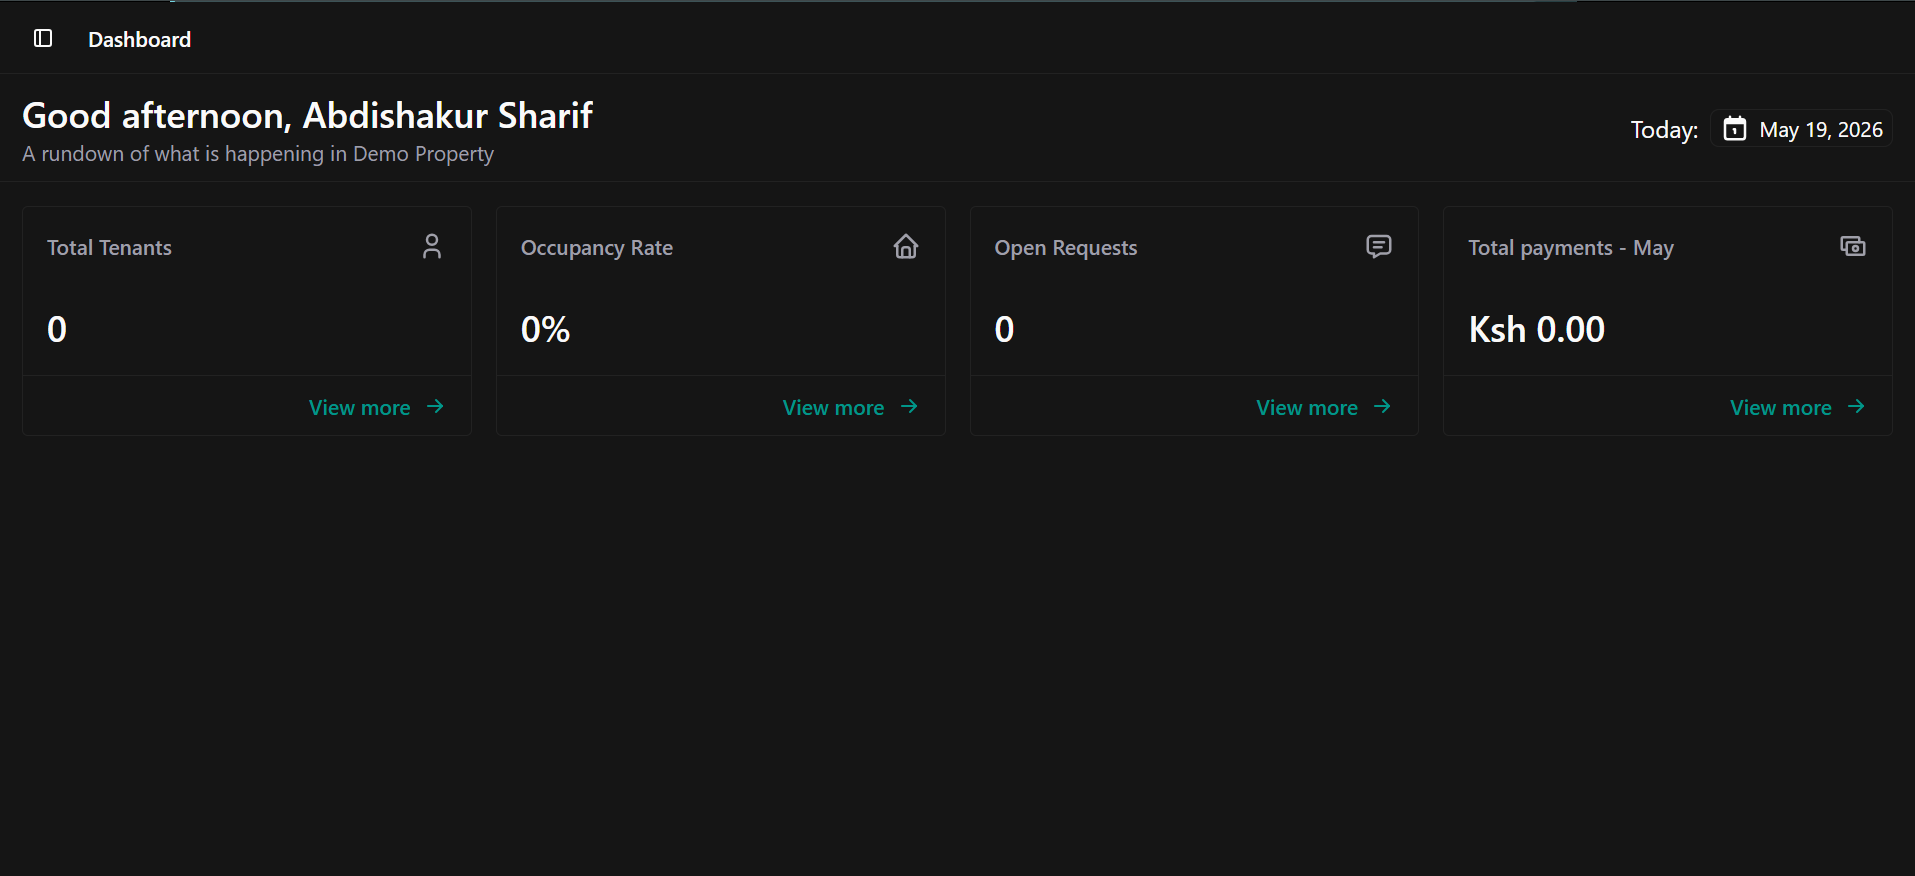
The dashboard overview — click the box icon to access the sidebar navigation menu
The sidebar gives you access to the whole navigation of the property
Note: The sidebar is collapsible — click the box icon again to close it and give yourself more screen space for your dashboard content.